
NOTE: The LoRaWAN Gateway is used as part of our Food Retail solution.
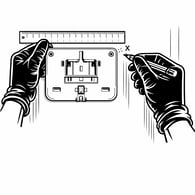 Step 1
Mark a location for the mounting bracket where you want to place the gateway on the wall and drill three 5mm holes.
 Step 2
Insert expansion plugs into the drilled holes then secure the mounting bracket to the wall.
Step 3
Align the lower edge of the gateway's hanging hole with the bracket's locking plate.
Step 4
Move the gateway closer to the bracket so that the bracket's locking plate enters the gateway's hanging hole.
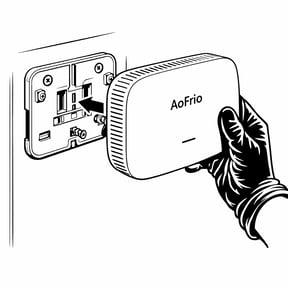
 Step 5
Test the gateway is securely mounted then attach the antenna.
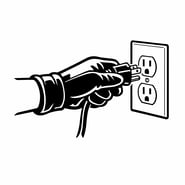
Step 6
Connect the power adapter to the device and plug the other end of the adapter into a power outlet. Power on.
Step 7
Check the LED lights for the gateway status then proceed to the Ethernet or Wi-Fi connection steps.
-
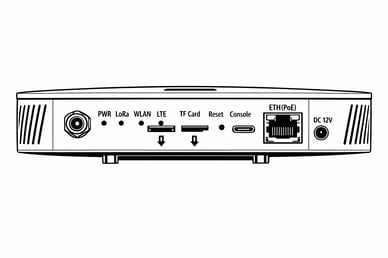 Top panel:
-
Fast red blink = Powered on, NOT connected.
-
Green slow blink = Powered on, Connected.
-
-
Back panel:
-
PWR: On = Powered on.
-
ETH: Flickering = Connected.
-
WLAN: Flickering = Connected.
-
LoRa: Flickering = Connected.
-
LTE: Flickering = Connected.
-
LTE: Slow blinking = Searching for a network.
-
Step 8
Refer to the user manual for detailed steps about connecting to the cloud and the iQ platform.
Install Address? The install address is essential for accurate geolocation tracking and a number of reporting filters. When a service technician starts an installation task, they are guided through the outlet setup workflow - which includes the outlet address and device configuration for both the LoRaWAN Gateway and sensors. This is managed within the Technician view of the AoFrio iQ mobile app, not the Field app used for other AoFrio IoT hardware.